`
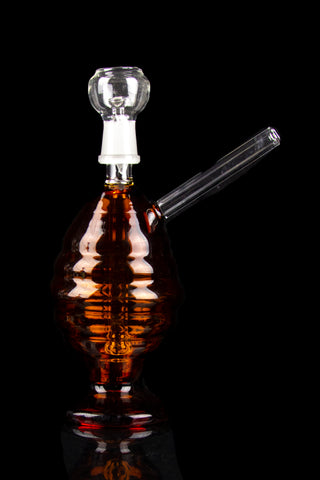
If you love smoking herb or tobacco, but you don’t have a bong at hand, don’t worry. You can make your own bong at home using some cheap and easy-to-find materials. A homemade bong is not only fun to make, but also fun to use. Plus, you can customize it to your liking and show off your creativity.
In this blog post, we will show you how to make a homemade bong using a plastic bottle, a highlighter, some foil, and a few other tools. This is one of the simplest and most popular methods of making a bong, but you can also experiment with other materials and designs. For example, you can use fruits, glass bottles, metal cans, or even Lego bricks to make your own bong.
Before we start, here are some things you will need:
- A plastic bottle of any size (the larger the bottle, the bigger the hits)
- A highlighter (or any hollow tube that can fit through the bottle)
- Some aluminum foil
- A sharp tool (such as a pen, a knife, or a paperclip)
- Some water
- Some herb or tobacco
- A lighter
Now that you have everything ready, let’s get started!
Step 1: Make the carb
The carb is the hole that you will cover with your finger when you smoke the bong. It allows you to control the airflow and clear the smoke from the bottle. To make the carb, poke a hole near the top of the bottle with your sharp tool. Make sure the hole is large enough for air to flow through it, but not so large that you can’t cover it with your finger.
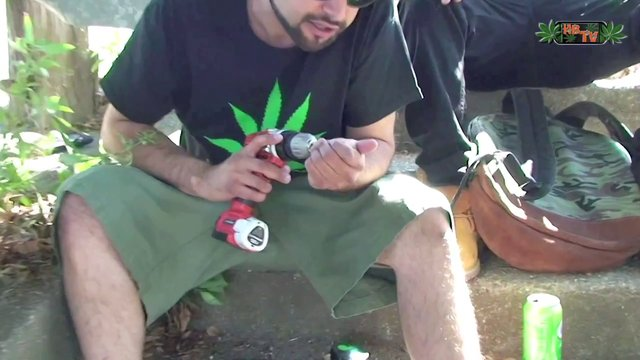
Step 2: Make the downstem
The downstem is the tube that connects the bowl (where you put your herb or tobacco) to the water chamber (where the smoke filters through). To make the downstem, empty the contents of a highlighter and remove any plastic parts inside. You should be left with a hollow plastic tube. Then, tear off a small piece of aluminum foil and wrap it around one end of the tube. Press the center of the foil down into the tube to form a bowl shape and poke some tiny holes in it for the smoke to pass through.
Step 3: Make the water chamber
The water chamber is where the magic happens. The water cools down and filters the smoke, making it smoother and less harsh on your lungs. To make the water chamber, fill up your plastic bottle about 1/4 of the way with water. You don’t need too much water, just enough to submerge the end of the downstem.
Step 4: Insert the downstem
Now that you have your carb, your downstem, and your water chamber ready, it’s time to put them all together. To do this, poke another hole in the bottle slightly above the waterline with your sharp tool. This hole should be about the same width as your highlighter tube. Then, push the open end of the downstem through this hole at an angle so that it goes into the water. The bowl end of the downstem should be pointing upwards on the outside of the bottle.
Step 5: Pack the bowl and enjoy
Congratulations! You have just made your own homemade bong. Now all you need to do is pack some herb or tobacco into your bowl and light it up. To use your bong, cover the carb with your finger and inhale from the mouth of the bottle. When you’re ready to clear the smoke, release your finger from the carb and inhale again.
We hope you enjoyed this tutorial on how to make a homemade bong. Remember to be careful when using sharp tools and fire, and always smoke responsibly. Have fun and happy smoking!
“`