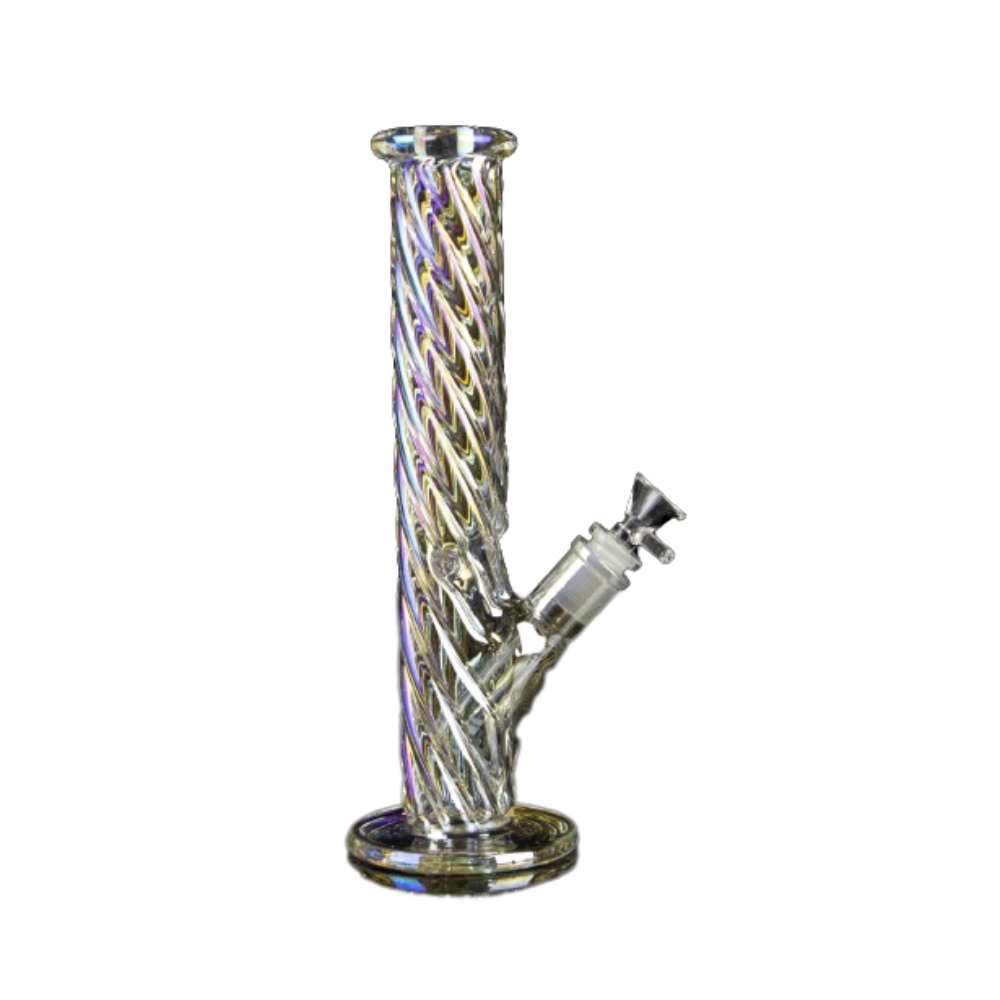
If you enjoy smoking herb or tobacco, but you don’t have a pipe or a bong handy, don’t worry. You can make your own bong at home using some cheap and basic supplies. A homemade bong is not only easy to make, but also fun and creative. You can customize your bong to suit your preferences and style. Plus, you’ll save some money and impress your friends with your DIY skills.
In this blog post, we’ll show you how to make a homemade bong using two different methods: a plastic bottle bong and a gravity bong. Both methods are simple and effective, but they require different materials and techniques. We’ll also give you some tips and tricks to make your homemade bong work better and last longer. Let’s get started!
What You’ll Need
Before you start making your homemade bong, you’ll need to gather some supplies. Depending on which method you choose, you’ll need different items. Here’s a list of what you’ll need for each method:
Plastic Bottle Bong
- A plastic bottle of any size (the larger the bottle, the bigger the hits)
- Water
- A sharp tool (such as a pen, a knife, or a paperclip)
- A highlighter (or any other hollow tube that can fit through the bottle)
- Aluminum foil
- A lighter
- Your herb or tobacco of choice
Gravity Bong
- Two plastic bottles of different sizes (one larger than the other)
- A bucket or a large container (big enough to fit the larger bottle)
- Water
- A sharp tool (such as a pen, a knife, or a paperclip)
- Aluminum foil
- A lighter
- Your herb or tobacco of choice
How to Make a Plastic Bottle Bong
A plastic bottle bong is one of the most popular homemade bongs. It’s easy to make and it works well. Here’s how to make one:
- Fill up the plastic bottle ¼ of the way with water. The water will filter the smoke when you use the bong.
- Poke a hole just below the neck of the bottle to make the carb. The carb is the hole that you’ll cover with your finger at first and then let go of so you can inhale the smoke in the bottle. Make the hole large enough for air to flow through it, but not so big that you won’t be able to cover it with your finger.
- Make another hole slightly above the waterline for the downstem. The downstem is the tube that connects the bowl to the water. Make this hole about the same width as a pen.
- Use a highlighter and foil to make a downstem and a bowl. To make the downstem, empty the contents of a highlighter so you’re left with just the hollow plastic tube. You may need to use scissors or pliers to pull the highlighter apart. Then, tear off a small piece of aluminum foil and wrap it around the wide end of the tube. Press the center of the foil down into the tube to make the bowl and poke tiny holes in it so the smoke can get through.
- Push the open end of the downstem through the bottom hole you made. Angle the downstem downward so that the open end inside of the bottle is submerged in the water. The bowl should be angled upward on the outside of the bottle.
- Pack the bowl with your herb or tobacco and try out your new bong. To use it, cover the carb with your finger and light up the bowl. As you light it, inhale slowly from the mouthpiece (the top of the bottle). When you’re ready to take a hit, uncover the carb and inhale sharply.
How to Make a Gravity Bong
A gravity bong is another type of homemade bong that uses water and air pressure to create suction. It’s more powerful than a plastic bottle bong, so be prepared for some intense hits. Here’s how to make one:
- Cover the mouthpiece of the smaller bottle with foil to make a bowl. Poke small holes in the foil so the smoke can travel into the bottle.
- Cut off the bottom 1–2 inches of the smaller bottle. This will allow you to submerge the bottle in water.
- Cut off the top of the larger bottle. This will create a base for your gravity bong.
- Fill the bucket or the large container with water. The water level should be high enough to cover most of the smaller bottle when submerged.
- Place the smaller bottle inside the larger bottle and submerge it in the water. The mouthpiece with the foil bowl should be above the water.
- Pack the bowl with your herb or tobacco and light it up. As you light it, slowly lift the smaller bottle out of the water. This will create a vacuum that will draw the smoke into the bottle. Be careful not to lift the bottle too high or it will fall out of the water.
- Remove the foil bowl and place your mouth over the mouthpiece. Push the bottle back down into the water as you inhale. This will force the smoke out of the bottle and into your lungs.
Tips and Tricks
Now that you know how to make a homemade bong, here are some tips and tricks to make it work better and last longer:
- Clean your bong regularly. Rinse it with hot water and soap after each use to prevent resin buildup and bacteria growth.
- Replace your foil bowl often. Aluminum foil can oxidize and release harmful chemicals when heated repeatedly. You can also use a metal or glass bowl instead of foil if you have one.
- Use a screen or a filter in your bowl. This will prevent ash and herb particles from getting into your bong and clogging it up. You can use a metal screen, a piece of cheesecloth, or even a small piece of fruit (such as a strawberry) as a filter.
- Add some ice or cold water to your bong. This will cool down the smoke and make it smoother on your throat and lungs.
- Add some flavor to your bong. You can use flavored water, juice, tea, or even wine to fill your bong instead of plain water. This will add some taste and aroma to your smoke.
Conclusion
Making a homemade bong is a fun and easy way to enjoy your herb or tobacco without spending a lot of money on a pipe or a bong. You can use common household items to make your own bong in minutes. Just follow our instructions for making a plastic bottle bong or a gravity bong and you’ll be ready to smoke in no time.
Remember to clean your bong regularly, replace your foil bowl often, use a screen or a filter, and experiment with different liquids and flavors to enhance your smoking experience. And most importantly, be safe and responsible when using your homemade bong.
We hope you enjoyed this blog post and learned something new. If you have any questions or comments, feel free to leave them below. Happy smoking!