If you are looking for a quick and easy way to enjoy your favorite herb or tobacco, you might want to try making a water bottle bong. A water bottle bong is a simple homemade device that allows you to smoke your product through water, which cools and filters the smoke. All you need are some basic household items and a few minutes of your time. Here is how to make a water bottle bong in 5 easy steps.
Step 1: Gather your materials
To make a water bottle bong, you’ll need the following materials:
- An empty water bottle. Remove the cap and the label. You can use any size of bottle, but keep in mind that the larger the bottle, the bigger the hits will be.
- A lighter. You will use this to light your herb or tobacco, but also to help make the hole for the downstem and melt it to the bottle.
- Scissors or another sharp tool. You will use this to poke holes in the bottle for the downstem hole and the carb.
- A bowl. You can use a metal socket, a metal bottle cap, or a foil bowl. A socket is the best option, as it is sturdy and easy to attach to the downstem. A metal bottle cap can also work, but you will need to poke holes in it with a needle or a nail. A foil bowl is the easiest to make, but it is not very durable and can be harmful if heated too much.
- A downstem. You can use an empty pen tube, a straw, or a plastic tube. An empty pen tube is the best option, as it is rigid and fits well into the bottle.
- Duct tape or gauze. You will use this to seal the gaps between the downstem and the bottle, and between the bowl and the downstem.
Step 2: Make the downstem hole
Take your scissors or sharp tool and poke a hole in the side of the bottle, slightly above the waterline. The hole should be about the same width as your downstem. If it is too small, you can widen it by wiggling your tool around or using a lighter to melt it. If it is too big, you can use duct tape or gauze to seal it later.
Step 3: Insert the downstem
Take your downstem and push it through the hole you just made. Angle it downward so that the end inside the bottle is submerged in the water. The downstem should be snug in the hole, but not too tight that it cracks the bottle. If there are any gaps between the downstem and the bottle, use duct tape or gauze to seal them.
Step 4: Attach the bowl
If you are using a socket or a metal bottle cap as your bowl, you can simply insert it into the open end of your downstem and secure it with duct tape or gauze. If you are using a foil bowl, you will need to make one first. To do this, take a small piece of aluminum foil and wrap it around the wide end of your downstem. Press your thumb down to form a bowl shape in the foil. Poke some small holes in the foil with a needle or a pin. Make sure that the holes are not too big or too close together, or your herb or tobacco will fall through.
Step 5: Make the carb
The carb is a small hole that you will cover with your finger when you inhale from the bong, and release when you want to clear the smoke from the chamber. To make the carb, poke another hole in the side of the bottle, near where your thumb would naturally rest when holding it. The carb should be smaller than the downstem hole, but large enough for air to flow through easily.
Step 6: Enjoy your water bottle bong
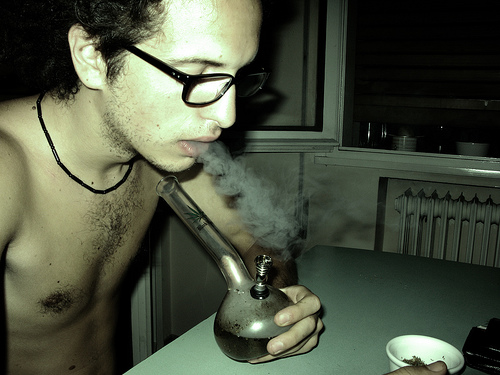
Your water bottle bong is now ready to use! To use it, fill your bowl with your herb or tobacco of choice. Cover the carb with your finger and place your mouth over the mouthpiece of the bottle. Use your lighter to ignite your product while inhaling slowly from the bottle. You will see smoke filling up inside the chamber. When you are ready to take a hit, remove your finger from the carb and inhale sharply from the bottle. You will feel a rush of smoke entering your lungs. Exhale and repeat as desired.
Remember to change the water in your bong regularly, as it can get dirty and smelly over time. Also, be careful not to burn yourself with the lighter or the hot bowl. Enjoy your water bottle bong responsibly and have fun!