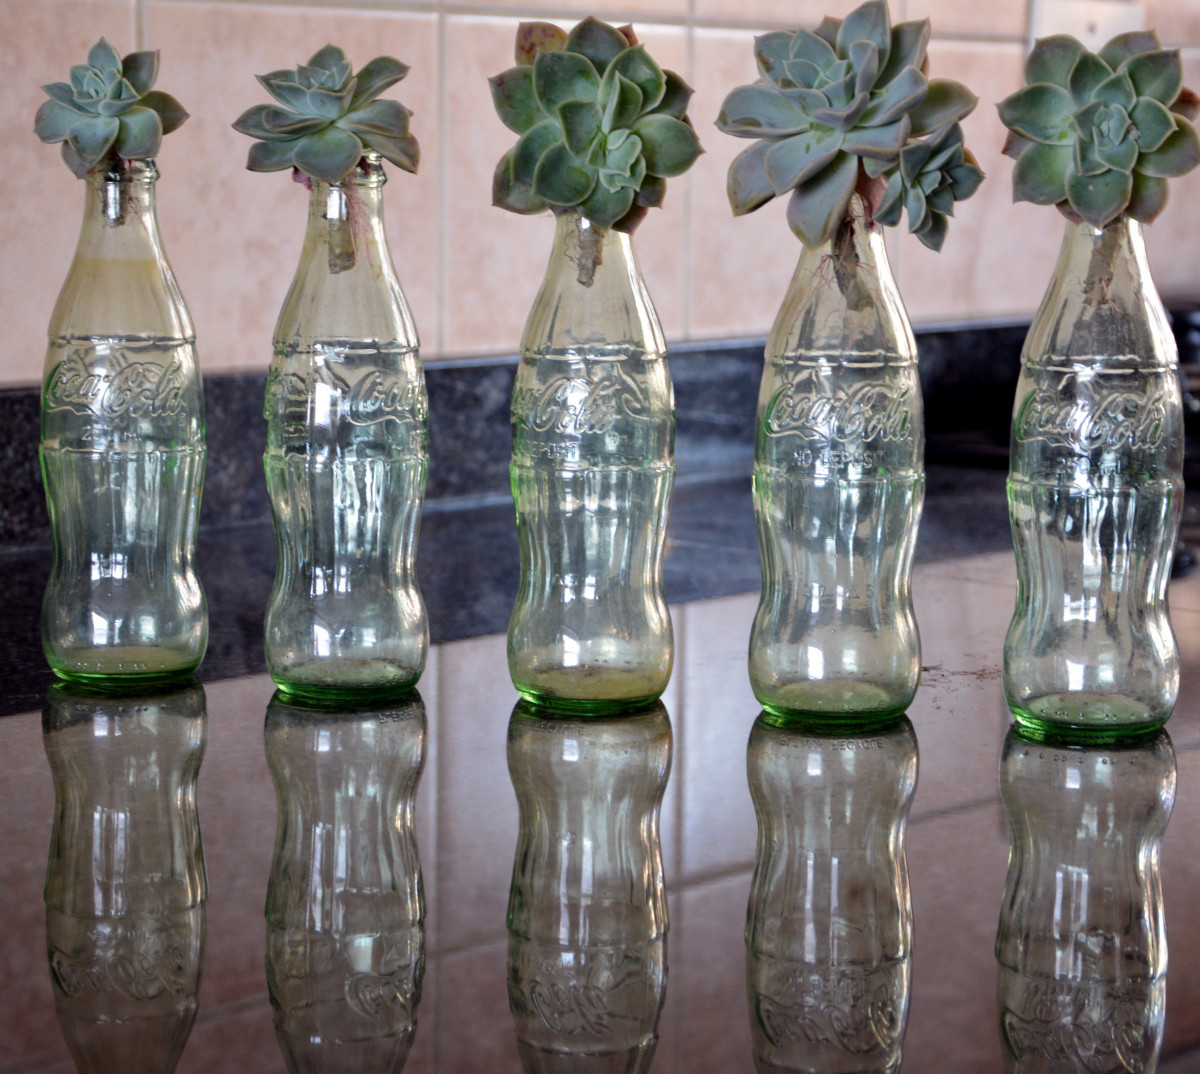
If you are looking for a creative way to enjoy your herb or tobacco, you might want to try making your own glass bong from a glass bottle. A glass bong is a device that filters and cools the smoke from burning herb or tobacco through water, making it smoother and less harsh on your lungs. You can make a glass bong from any glass bottle, such as a wine bottle, a beer bottle, or a liquor bottle, as long as you have the right tools and materials.
In this blog post, we will show you how to drill a hole in a glass bottle to make a glass bong. Drilling a hole in glass is not as hard as it sounds, but it does require some patience and caution. You will need a power drill, a diamond or carbide-tipped drill bit, some masking tape, a marker, a towel, some water, and safety gear. You will also need a stem and bowl for your bong, which you can buy online or at a smoke shop.
Step 1: Mark the spot where you want to drill the hole
The first step is to mark the spot where you want to drill the hole on your glass bottle. This will be where you insert the stem and bowl of your bong. You can choose any spot on the side of the bottle that follows the curve of the bottle. Avoid drilling on flat or angled areas, as they are more likely to crack or shatter.
To mark the spot, use some masking tape and make an X shape over the area. Then, use a marker and draw a dot at the center of the X. The masking tape will help prevent the drill bit from slipping on the glass surface and also reduce the risk of chipping or cracking.
Step 2: Secure the bottle and prepare the drill
The next step is to secure the bottle and prepare the drill. You will need to place the bottle on a soft and stable surface, such as a folded towel, a cushion, or a piece of foam. Make sure the bottle is lying flat and does not roll or slide around.
Then, you will need to fit your power drill with a small diamond or carbide-tipped drill bit. These are special drill bits that are designed to cut through glass without breaking it. You can find them at most hardware stores or online. You will need a small drill bit (either 1/8-inch or 3/32-inch) to make a starter hole, which you can then enlarge with a bigger drill bit later.
Step 3: Drill the starter hole
The third step is to drill the starter hole on your glass bottle. This is the most delicate part of the process, so you need to be careful and patient. You will need some water to keep the drill bit cool and lubricated while drilling.
To drill the starter hole, align the tip of the drill bit with the dot you marked on the masking tape. Hold the drill at a right angle to the surface of the glass. Start drilling at a low speed (below 400 rpm) and with moderate pressure. You can start drilling at a 45-degree angle and then gradually move to a 90-degree angle as you make progress.
As you drill, spray some water on the drill bit and the glass every few seconds to prevent overheating and cracking. Do not push too hard or too fast on the drill, as this can cause the glass to shatter. Drilling through glass can take some time, so be patient and gentle.
Step 4: Enlarge the hole
The fourth step is to enlarge the hole on your glass bottle to fit your stem and bowl. You will need to switch to a bigger diamond or carbide-tipped drill bit that matches the diameter of your stem and bowl. You can measure this with a ruler or use trial and error.
To enlarge the hole, repeat the same process as before: align the tip of the drill bit with
the center of the starter hole, hold the drill at a right angle to the glass surface, start drilling at
a low speed and moderate pressure, spray some water every few seconds, and be patient
and gentle.
Step 5: Smooth and cover the hole
The fifth step is to smooth and cover the hole on your glass bottle. The hole may have some rough edges or chips that can cut your fingers or damage your stem and bowl. You will need to file them down with a 600-grit diamond file or some sandpaper. You can also use some epoxy or silicone to seal the hole and make it watertight.
To smooth and cover the hole, gently rub the file or sandpaper over the edges of the hole until they are smooth. Then, apply some epoxy or silicone around the hole and let it dry. You can also wrap some electrical tape or rubber bands around the hole to create a snug fit for your stem and bowl.
Step 6: Attach the stem and bowl
The final step is to attach the stem and bowl to your glass bottle. You will need to insert the stem into the hole you drilled and secure it with some epoxy, silicone, tape, or rubber bands. Then, you will need to screw or snap the bowl onto the top of the stem.
To attach the stem and bowl, push the stem through the hole until it reaches the bottom of
the bottle. Make sure there is no air gap between the stem and the hole. Then, apply some
epoxy, silicone, tape, or rubber bands around the stem to seal it and hold it in place. Finally,
attach the bowl to the top of the stem and make sure it is tight and secure.
Congratulations! You have made your own glass bong!
You have successfully drilled a hole in a glass bottle and made your own glass bong. Now you can fill your bottle with water, pack your bowl with your favorite herb or tobacco, light it up, and enjoy!
Remember to always use your glass bong responsibly and safely. Do not use it if you are under the legal age or in a prohibited area. Do not share it with others who may have contagious diseases. Do not use it while driving or operating heavy machinery. And always clean your glass bong after each use to prevent mold and bacteria growth.
We hope you found this blog post helpful and informative. If you have any questions or comments, feel free to leave them below. Happy crafting!